Easily to Transfer Photos from iPad to SD Card [2025 Guide]
Want to move photos from your iPad to an SD card? Learn the fastest methods, including using FoneTool, iCloud, Windows Explorer, and an SD card reader.
Images often take up a large portion of your iPad's storage space, slowing down performance. To free up space and increase efficiency, transferring your photos to an external storage device (such as an SD card, USB flash drive, or external hard drive) can be a practical solution. Additionally, storing important pictures externally can provide an extra layer of security.
This guide will walk you through how to transfer photos from iPad to SD card, whether you have access to a computer or not. Let’s dive in!
- ★Tips:
- iPad storage is full? Don’t worry, you can learn how to fix iPad storage full issue in this link.
How to Transfer Photos from iPad to SD Card with Computer
If you have a computer, transferring photos from iPad to memory card is a simple process. Here are the best ways to accomplish this task efficiently.
Option 1. [Fast] Transfer Photos from iPad to SD Card with FoneTool
FoneTool is a powerful iOS transfer tool that can help you move photos from iPad to SD card easily. Unlike iCloud and other cloud-based solutions, FoneTool transfers photos directly without quality loss or storage limitations.
✅Fast transfer speed. Move large photo albums in minutes. For example, it can transfer 300 high-quality photos within 3 seconds.
✅Selective transfer. You can preview and choose specific photos instead of transferring everything.
✅No quality loss. This tool will keep original image quality without compression.
✅No Internet required. With a stable USB connection, it works offline without relying on cloud storage.
✅iOS backup function. One-click backup iPhone data or choose to backup pictures, videos, music, SMS, etc.
✅iCloud data management. Support uploading, downloading and deleting iCloud files on computer.
Now, you can free download FoneTool and follow the guide to learn how to transfer photos from iPad to SD card. This steps also suitable for transferring photos from iPhone to SD card.
Step 1. Connect your iPad and SD card to your Windows PC with USB cables.
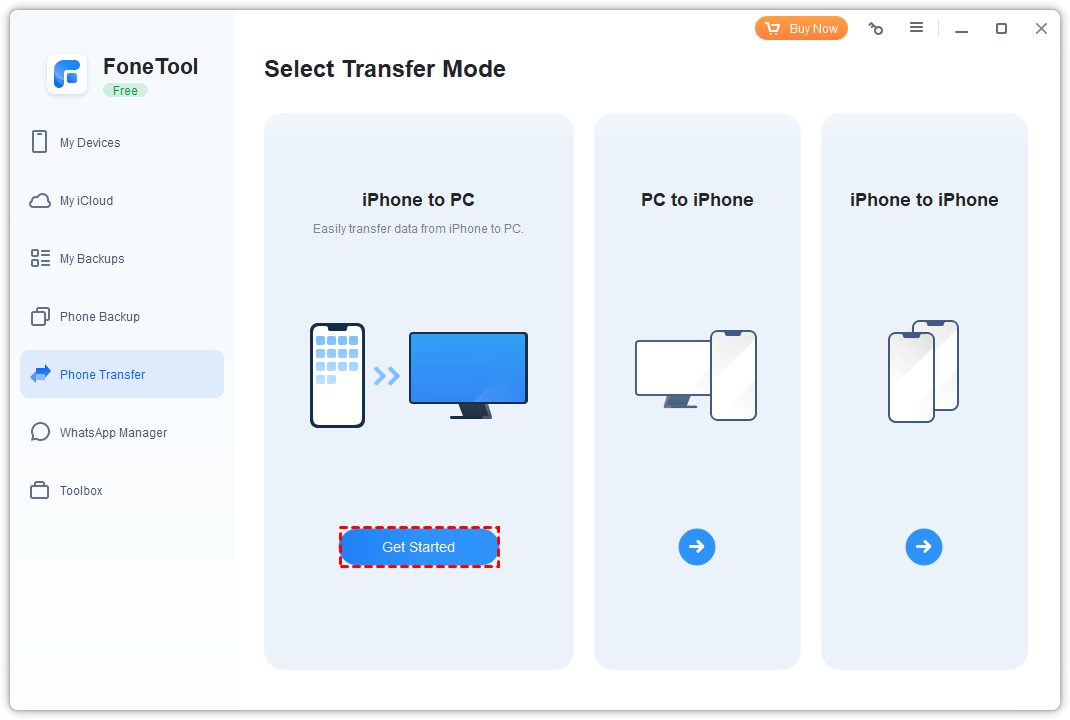
Step 2. Launch FoneTool > Go to the Phone Transfer option > Tap iPhone to PC > Click Get Started.
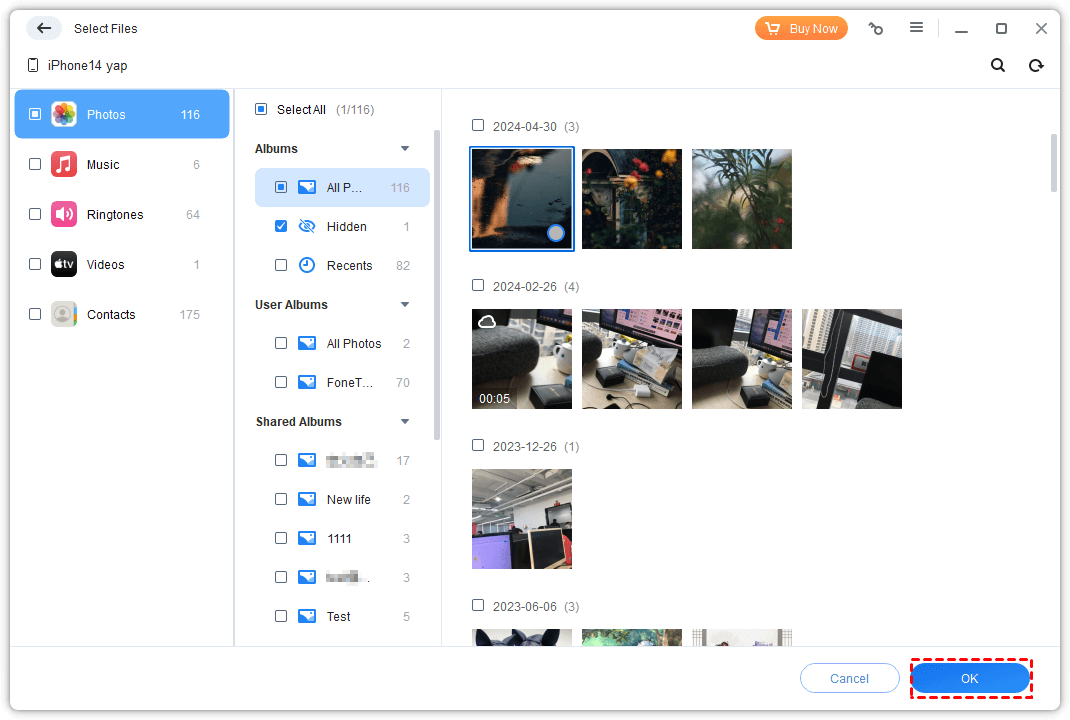
Step 2. Under the Photos tab > Preview and choose the photos from your iPad > Click OK.
- ★Tips:
- In addition to photos, you can also use FoneTool to transfer other files to the SD card. For example, you can Transfer Music from iPhone to SD Card.
Step 3. From the Transfer Settings, choose your SD card as the destination to save these pictures > Click Start Transfer to begin.
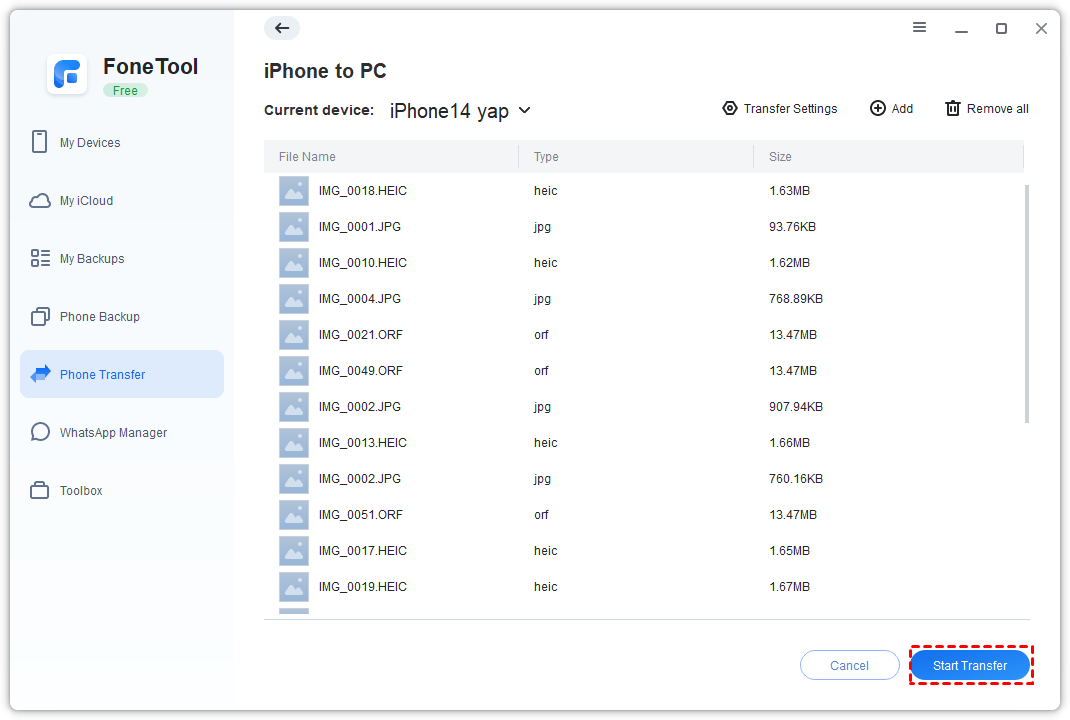
With just a few clicks, your iPad photos are safely stored on the SD card!
If you want to transfer photos from SD card to iPad, you can connect your iPad and SD card to your computer, open FoneTool > Go to Phone Transfer > Choose PC to iPhone, and follow the on-screen instructions to move data easily!
Option 2. Send Pictures from iPad to SD Card via iCloud
An alternative method for transferring photos from your iPad to an SD card is by utilizing iCloud. First, upload your images to iCloud, then download them onto your computer and transfer them to the SD card. This approach ensures seamless access to your photos across devices.
The following steps will guide you how to export pictures from iPad to an SD card. Before proceeding, make sure your iPad is connected to a stable WiFi network.
Step 1. Enable iCloud Photos on your iPad: Go to Settings > [Your Name] > iCloud > Photos.
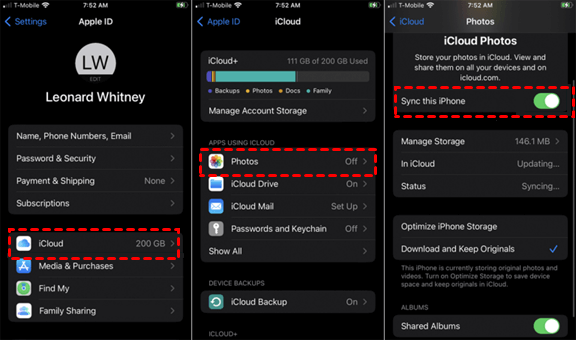
Step 2. Turn on iCloud Photos to sync all pictures to iCloud.
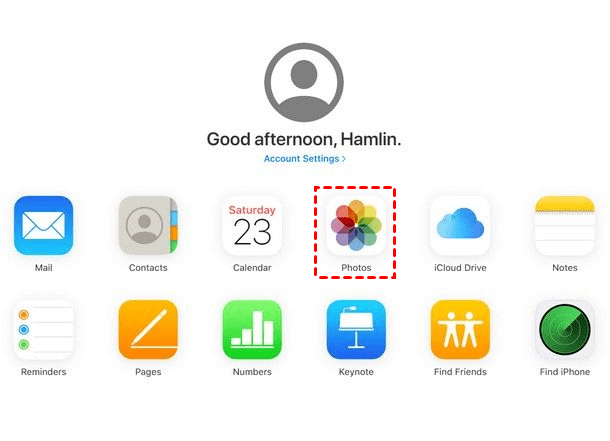
Step 3. On your computer, open iCloud.com > Log in with your Apple ID.
Step 4. Go to Photos > and download the photos from iCloud to your PC.
Step 5. Insert the SD card into your computer > copy the downloaded photos to it.
- ★Tips:
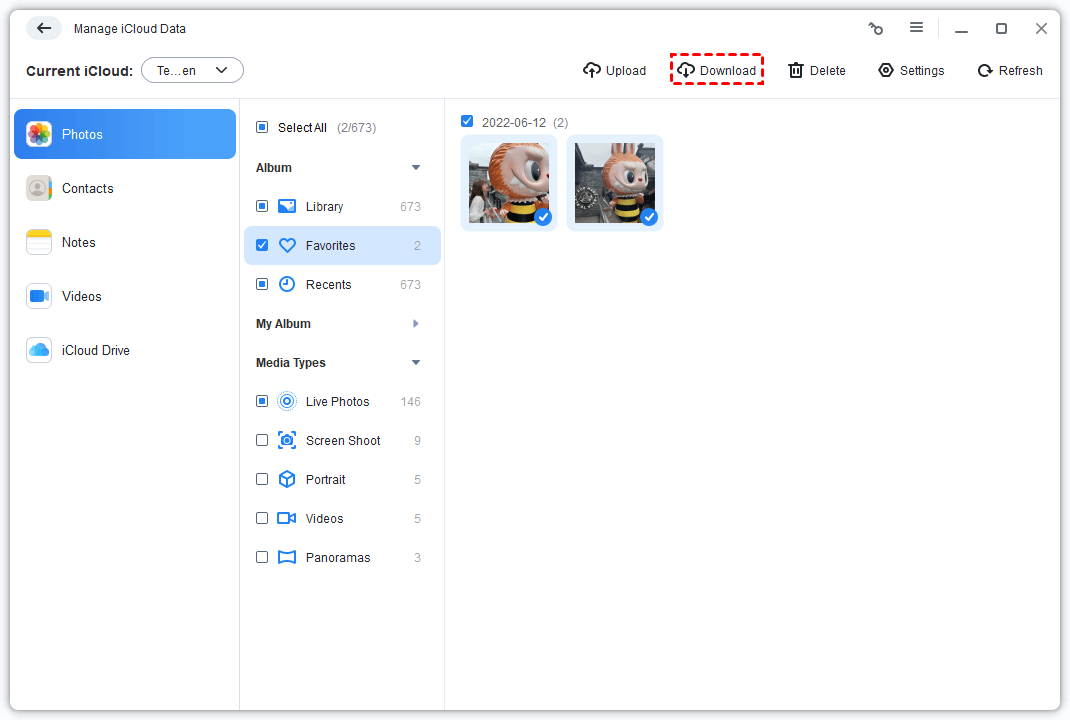
- If you have a large number of photos, we recommend that you use a faster method to download iCloud photos from iCloud to your SD card.
Option 3. Export Pictures from iPad to SD Card with Windows Explorer
Alternatively, for Windows users, you can manually copy photos from iPad to SD card using Windows File Explorer. Check the steps below to learn how to import photos from iPad to SD card.
Step 1. Establish a connection with your iPad and your computer by a USB cable > Click Trust on your iPad.
Step 2. Open the File Explorer from the PC > Go to This PC > Find your device named xxx iPad.
Step 3. Click the device > Navigate to the Internal Storage folder > Choose DCIM.
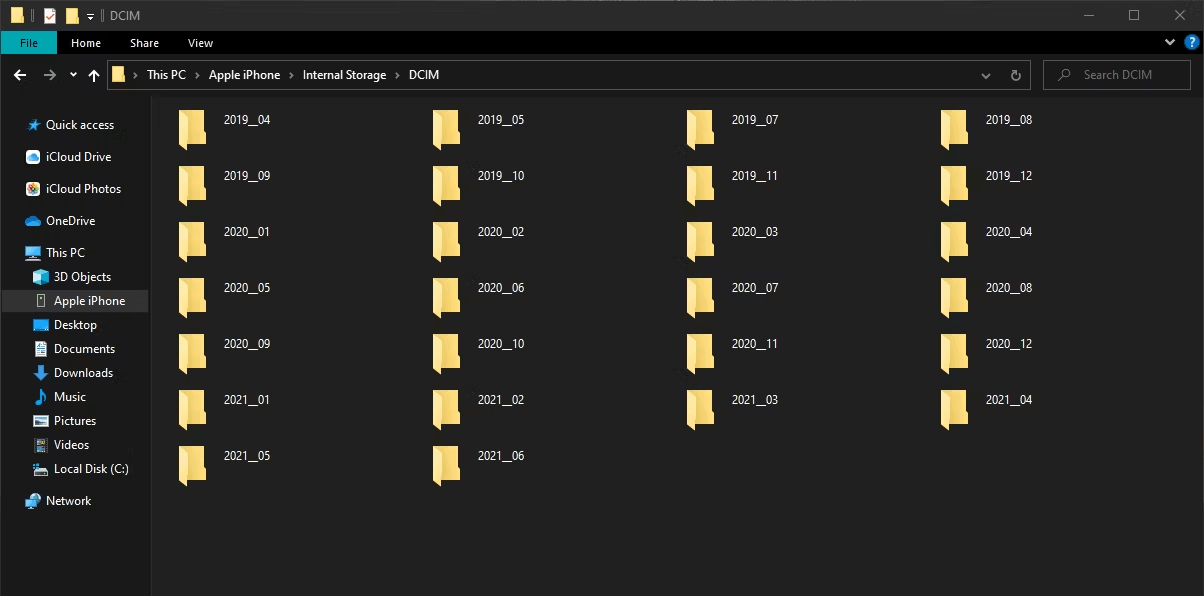
Step 4. You can create a new folder to save these pictures > Copy the selected pictures to this folder.
Step 5. Connect your SD card to the computer > Move and paste the folder to the targeted path.
How to Transfer Photos from iPad to SD Card Without Computer
Can I transfer photos from iPad to SD card without using a computer? Of course, you can! With an SD card reader for iPhone/iPad, you can learn how to move photos from iPad to SD card directly without using another device.
Move Photos from iPad to SD Card with SD Card Reader
While the exact process may vary depending on the brand and model of the card reader, the general steps remain consistent.
Step 1. Insert your SD card into the SD card reader > Connect the card reader to your iPad.
Step 2. On your iPad, open the Photos app > Choose the photos you want to export.
Step 3. Tap the Share button > choose Save to Files.
Step 4. Choose the SD card as the destination path to store the photos.
Conclusion
That’s all about how to transfer photos from iPad to SD card. It is essential for freeing up storage space, creating backups, and easily sharing pictures. The above article covers both using a computer and not using a computer. Among them, FoneTool provides the fastest and easiest way to transfer photos from iPad to SD card, especially when dealing with large files.
FoneTool - All-in-one iPhone Data Manager
Transfer, backup and manage data on iPhone, iPad and iPod touch in an easy way.
-
 iOS 26 Compatible
 iPhone 16 Supported
Windows 11/10/8/8.1/7
100% Secure

Clara is an editor of FoneTool, she helps people with issues related to the area of iPhone, including iPhone data backup & restore & transfer & erase and so on. Helping people solute to their problems makes her happy. She loves her family and enjoys going to the movies.
Read author info >>